


How to complete the Zero Hour Vault Puzzle in Destiny 2 (Week 3)
Ever the masters of stretching out content, Bungie has reprised the Outbreak Perfected pulse rifle with the caveat of needing to complete six Zero Hour runs to upgrade it fully. Week 3 of this Destiny 2 puzzle is much like the previous two, albeit with an annoyingly difficult twist. Here's how to complete it. Zero Hour Week 3: How to claim the Vimana Junker in Destiny 2 As with the previous puzzles, you will need Outbreak Perfected to complete the first half of the puzzle. Due to how much time it can take to complete the aforementioned puzzle, I do recommend running the mission on Normal. Finally, feel free to peace out once you have your reward. There's no need to complete this run of Zero Hour. Zero Hour Vault Puzzle (Week 1) Zero Hour Vault Puzzle (Week 2) TR3-VR's maze Oh, c'mon! Of all the places to put the last panel puzzle, why did it have to be in TR3-VR's maze? The principle is the same as in previous weeks, but with the added difficulty of navigating the electric walls and patrolling murderbot. All of the panels are on the left side of the maze. The activation panel is at the "bottom" of the map, closest to where you drop into the maze. It's tucked inside a cubby that would ordinarily be used to avoid TR3-VR. When activating this panel, try to time it so that you'll be running past the first electric wall on your left just as it's turning on. Screenshot by Destructoid The three symbol panels that must be shot are in the bottom left corner, in the bottom left corner of Left Switch 1, and on the wall in the chasm connecting the left and right sides. For me, the first panel I had to shoot was in the chasm. With the short timer, TR3-VR, and the electric walls, there's no time to run back to the activation panel for the next symbol. Thankfully, there will be a hologram at the intersection of the left hallway and the bottom pathway for Left Switch 1, which tells you the next panel to shoot. Be quick about it, as being downed by TR3-VR resets your progress. Image by Destructoid Image by Destructoid Image by Destructoid Image by Destructoid The Vault The second part of the puzzle is in the vault past the fire puzzle. Look on the left wall to find a monitor displaying a map of the room. This week's puzzle is to solve the trapezoid, which will be the second room from the bottom on the right side of the room. Image by Destructoid Image by Destructoid Image by Destructoid Image by Destructoid Use the arrows underneath the trapezoid to determine which order the panels in the room need to be activated. Red arrows are for panels outside of the trapezoid room, and black arrows are for those inside of the room. Successfully completing the puzzle will award The Corruption Spreads IV and the final Vimana Junker Schematic. The Corruption Spreads IV unlocks additional stocks for Outbreak Perfected, and the Vimana Junker can be claimed from the Triumphs page once you've completed all three parts of the vault puzzles. The post How to complete the Zero Hour Vault Puzzle in Destiny 2 (Week 3) appeared first on Destructoid.
Ever the masters of stretching out content, Bungie has reprised the Outbreak Perfected pulse rifle with the caveat of needing to complete six Zero Hour runs to upgrade it fully. Week 3 of this Destiny 2 puzzle is much like the previous two, albeit with an annoyingly difficult twist. Here's how to complete it.
Zero Hour Week 3: How to claim the Vimana Junker in Destiny 2
As with the previous puzzles, you will need Outbreak Perfected to complete the first half of the puzzle. Due to how much time it can take to complete the aforementioned puzzle, I do recommend running the mission on Normal. Finally, feel free to peace out once you have your reward. There's no need to complete this run of Zero Hour.
TR3-VR's maze
Oh, c'mon! Of all the places to put the last panel puzzle, why did it have to be in TR3-VR's maze? The principle is the same as in previous weeks, but with the added difficulty of navigating the electric walls and patrolling murderbot.
All of the panels are on the left side of the maze. The activation panel is at the "bottom" of the map, closest to where you drop into the maze. It's tucked inside a cubby that would ordinarily be used to avoid TR3-VR. When activating this panel, try to time it so that you'll be running past the first electric wall on your left just as it's turning on.

The three symbol panels that must be shot are in the bottom left corner, in the bottom left corner of Left Switch 1, and on the wall in the chasm connecting the left and right sides. For me, the first panel I had to shoot was in the chasm.
With the short timer, TR3-VR, and the electric walls, there's no time to run back to the activation panel for the next symbol. Thankfully, there will be a hologram at the intersection of the left hallway and the bottom pathway for Left Switch 1, which tells you the next panel to shoot. Be quick about it, as being downed by TR3-VR resets your progress.


The Vault
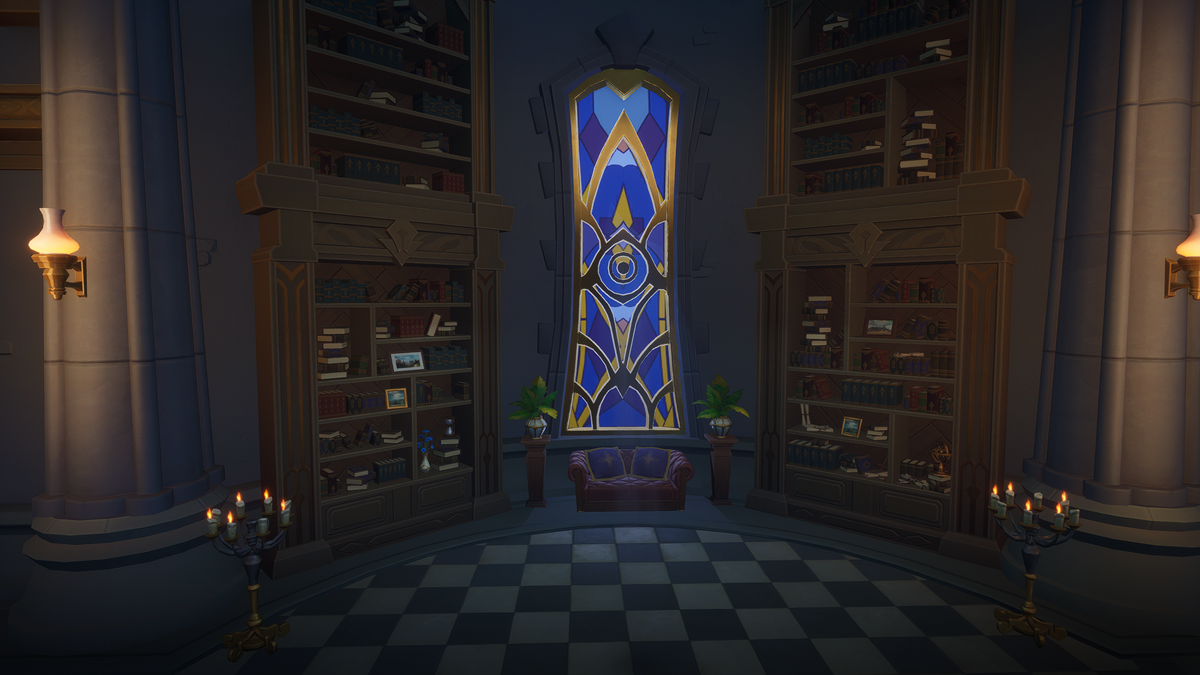
The second part of the puzzle is in the vault past the fire puzzle. Look on the left wall to find a monitor displaying a map of the room. This week's puzzle is to solve the trapezoid, which will be the second room from the bottom on the right side of the room.


Use the arrows underneath the trapezoid to determine which order the panels in the room need to be activated. Red arrows are for panels outside of the trapezoid room, and black arrows are for those inside of the room.
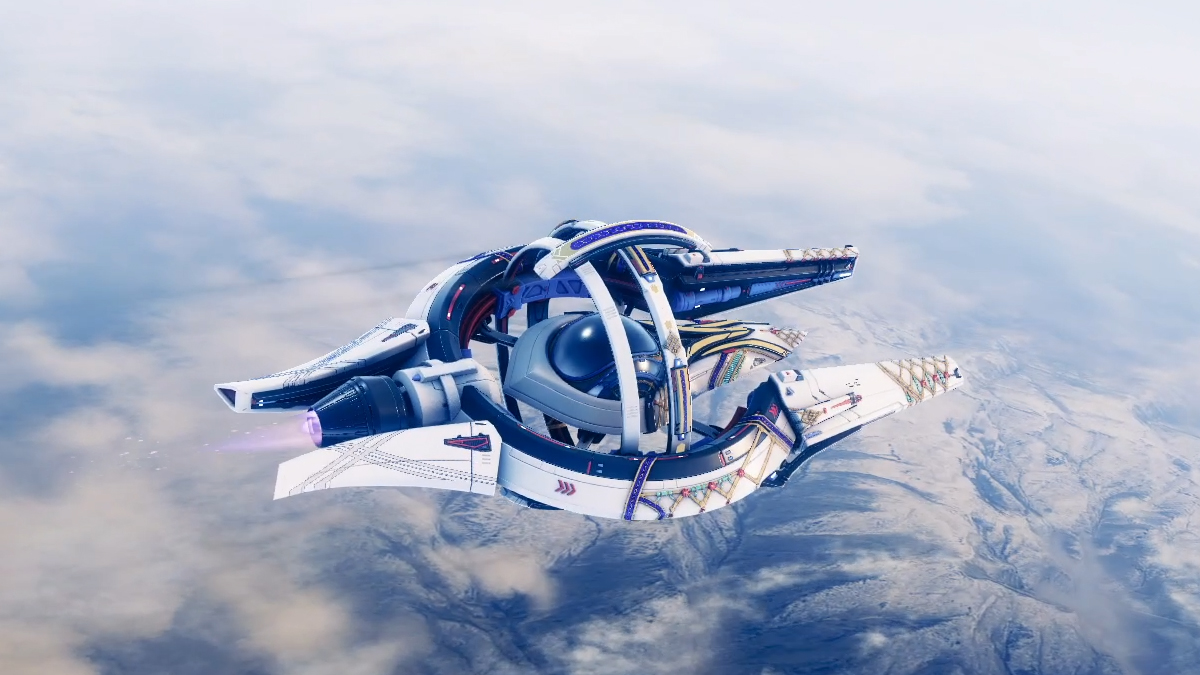
Successfully completing the puzzle will award The Corruption Spreads IV and the final Vimana Junker Schematic. The Corruption Spreads IV unlocks additional stocks for Outbreak Perfected, and the Vimana Junker can be claimed from the Triumphs page once you've completed all three parts of the vault puzzles.
The post How to complete the Zero Hour Vault Puzzle in Destiny 2 (Week 3) appeared first on Destructoid.
What's Your Reaction?